Deploy your Next.js application to Vercel using Sentry and Github Actions
Thanks to the power of open source tooling and cloud services, shipping an application to production has never been that easy, In this blog post, we are going to go from bootstrapping a Next.js application to deploying it on Vercel. We will use Github Action to handle the Continuous Integration and Sentry to monitor the application once it is deployed to be warned of any problems as soon as it arrives.
Bootstrapping the application
Let’s first bootstrap the application
npx create-next-app prod-ready-nextjs-sentry --use-npm
We can start our application using the script provided by Next.js in the package.json file.
npm run dev
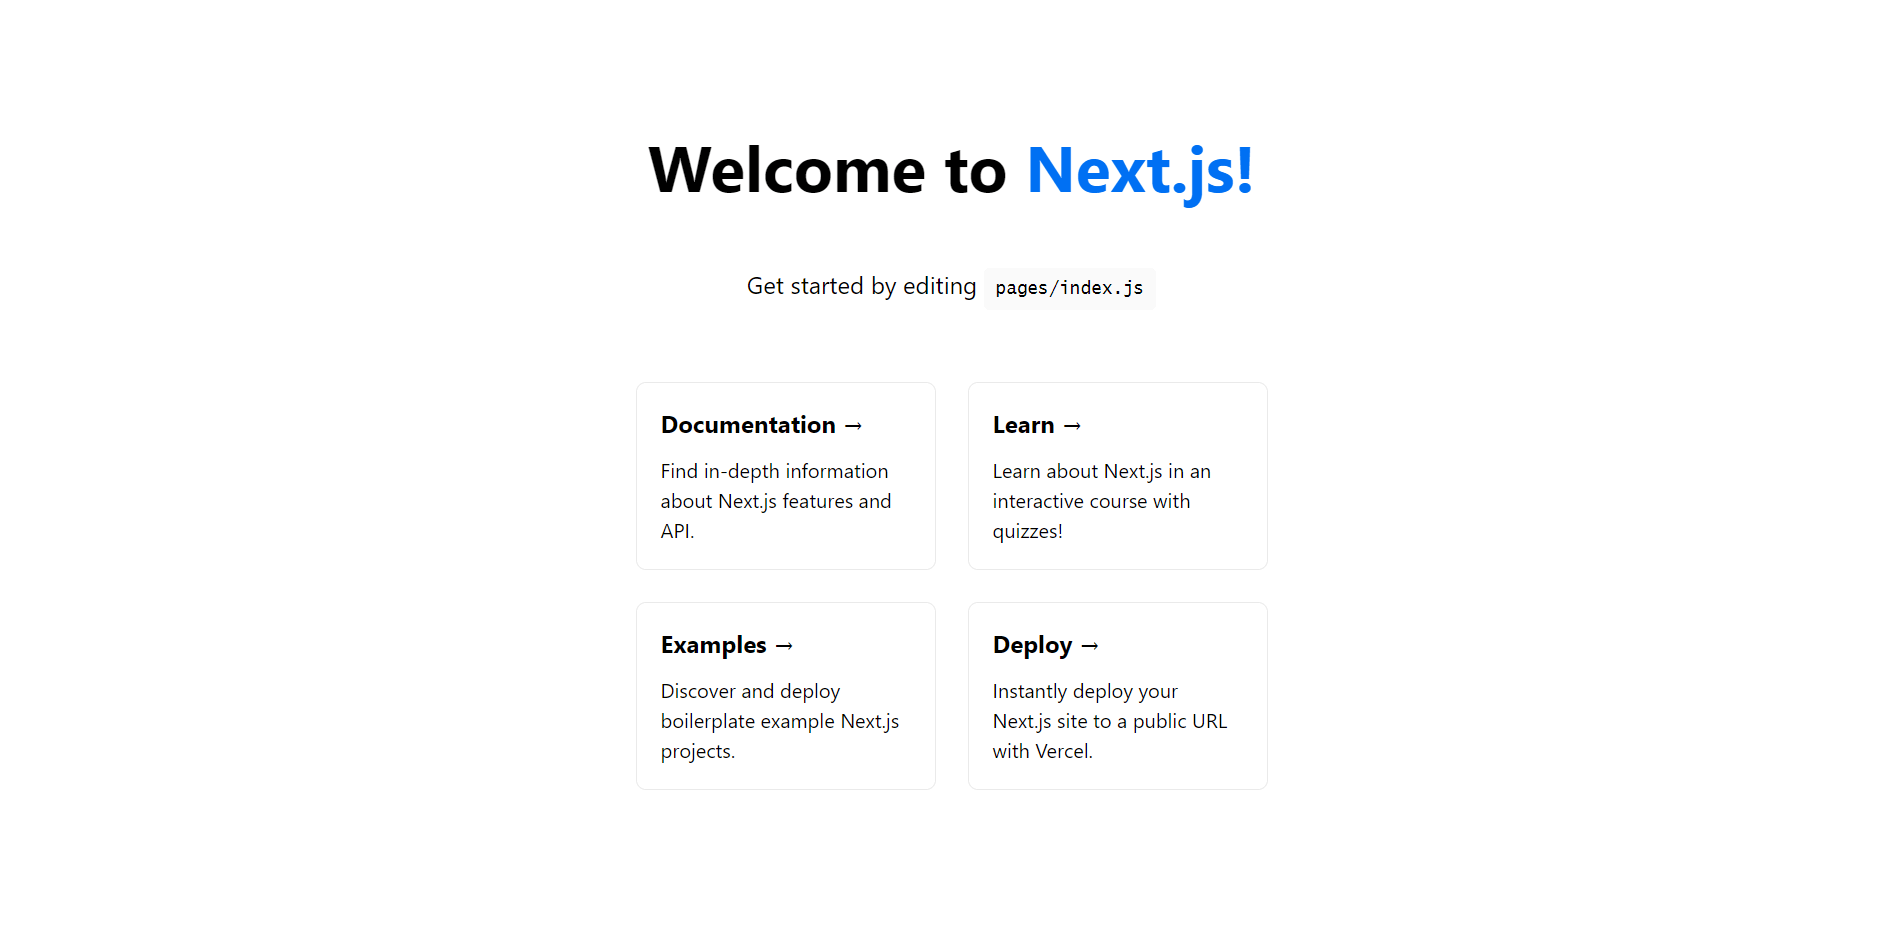
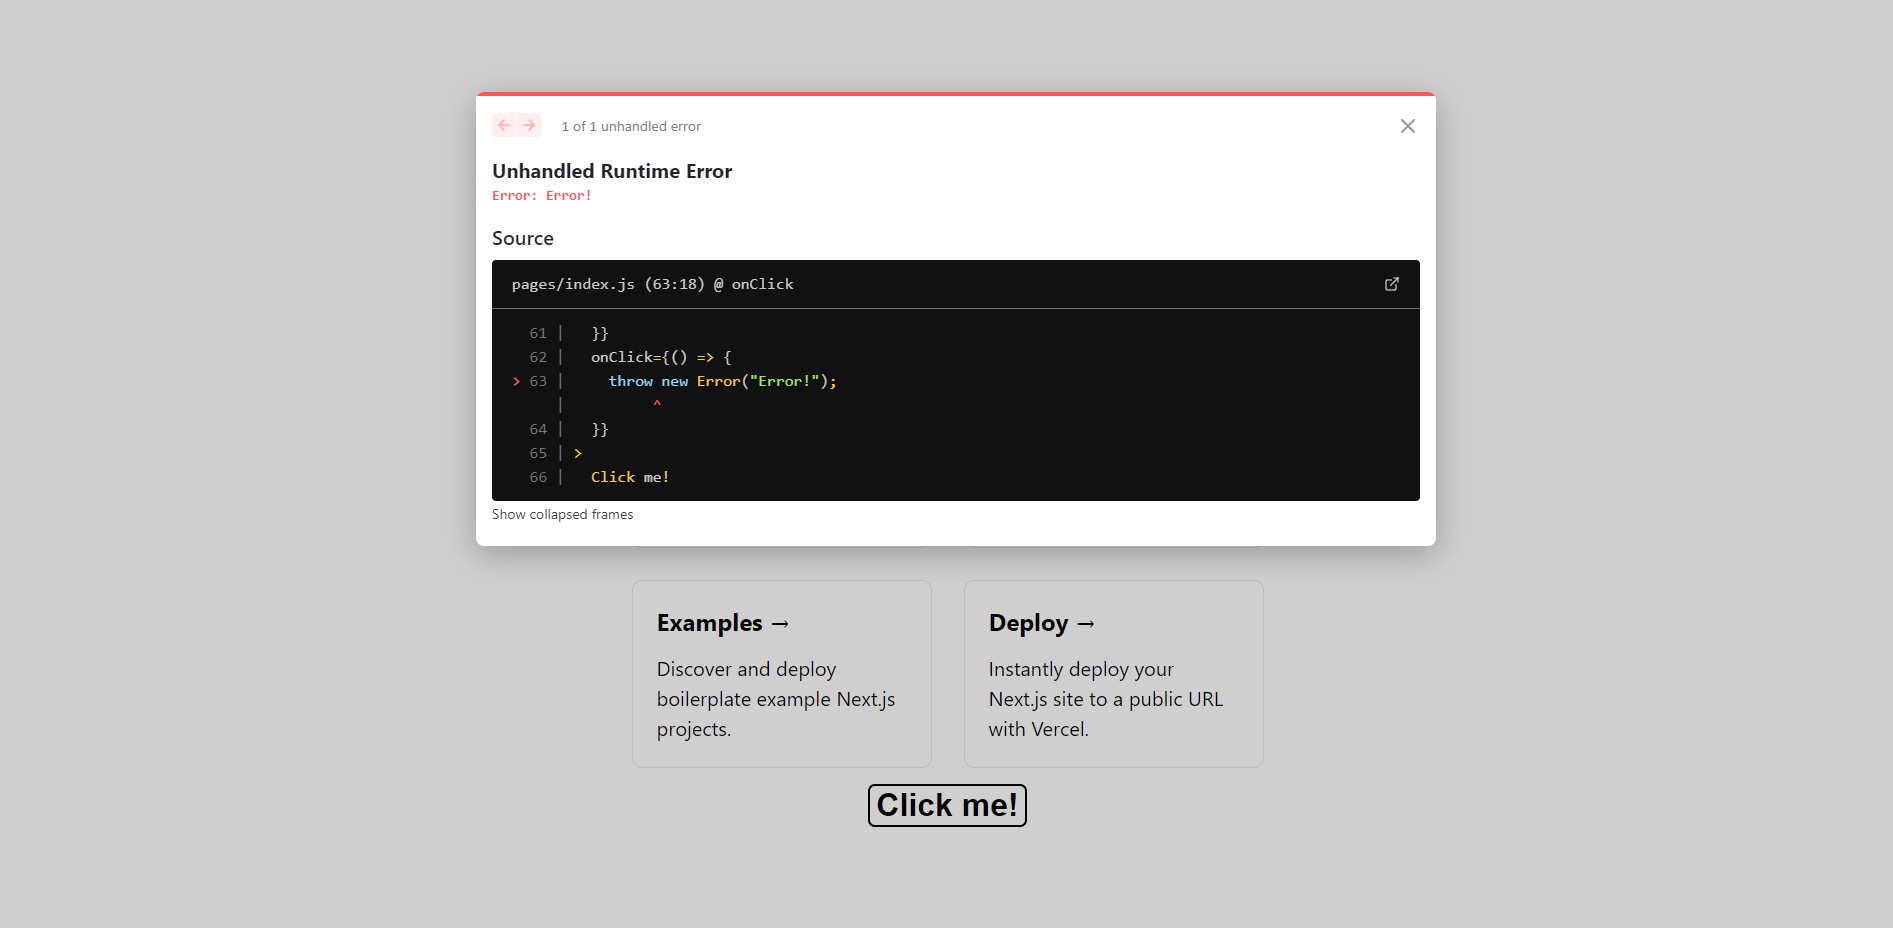
Let’s add a small piece of code that voluntarily raises an exception to the home page. We will use this to throw an error on the production application and test our Sentry integration.
export default function Home() {
return (
<div className={styles.container}>
<Head>...</Head>
<main className={styles.main}>
...
<div className={styles.grid}>...</div>
<button
style={{
border: 'solid 2px black',
backgroundColor: 'white',
borderRadius: '7px',
fontSize: '1rem',
fontWeight: '700',
cursor: 'pointer',
}}
onClick={() => {
throw new Error('Error!');
}}
>
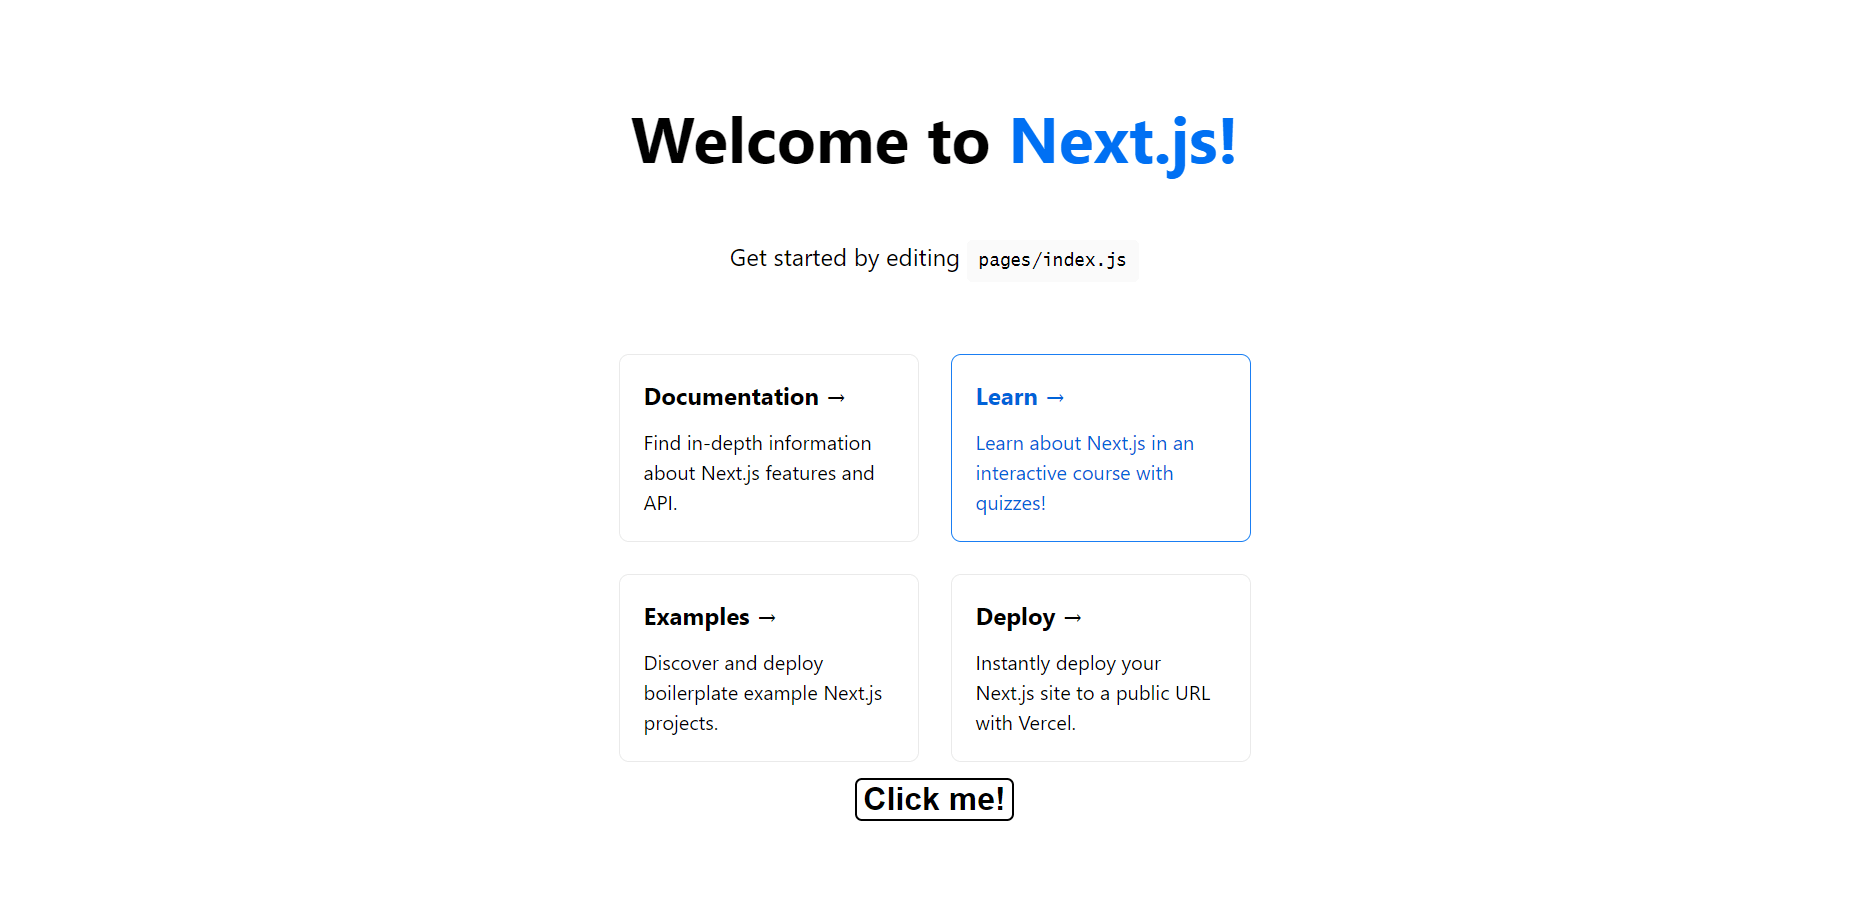
Click me!
</button>
</main>
<footer className={styles.footer}>...</footer>
</div>
);
}
We add a simple button that throws an error when clicked on the index.js file.
Setting up Sentry
Sentry is an application monitoring platform. Integrating Sentry into our application will provide us with the following features :
- Automatic Error Tracking with source maps for both JavaScript and TypeScript
- Events enriched with device data
- Breadcrumbs created for outgoing HTTP request with XHR and Fetch, and console logs
- Release health for tracking crash-free users and sessions
- Automatic Performance Monitoring for both the client and server
In short, you will know in detail if anything goes wrong during and after your application is deployed, and you will get some data about your application performance on top of that.
First, we need to create a Sentry account by going to the sentry website, and by creating a new Next.js project.
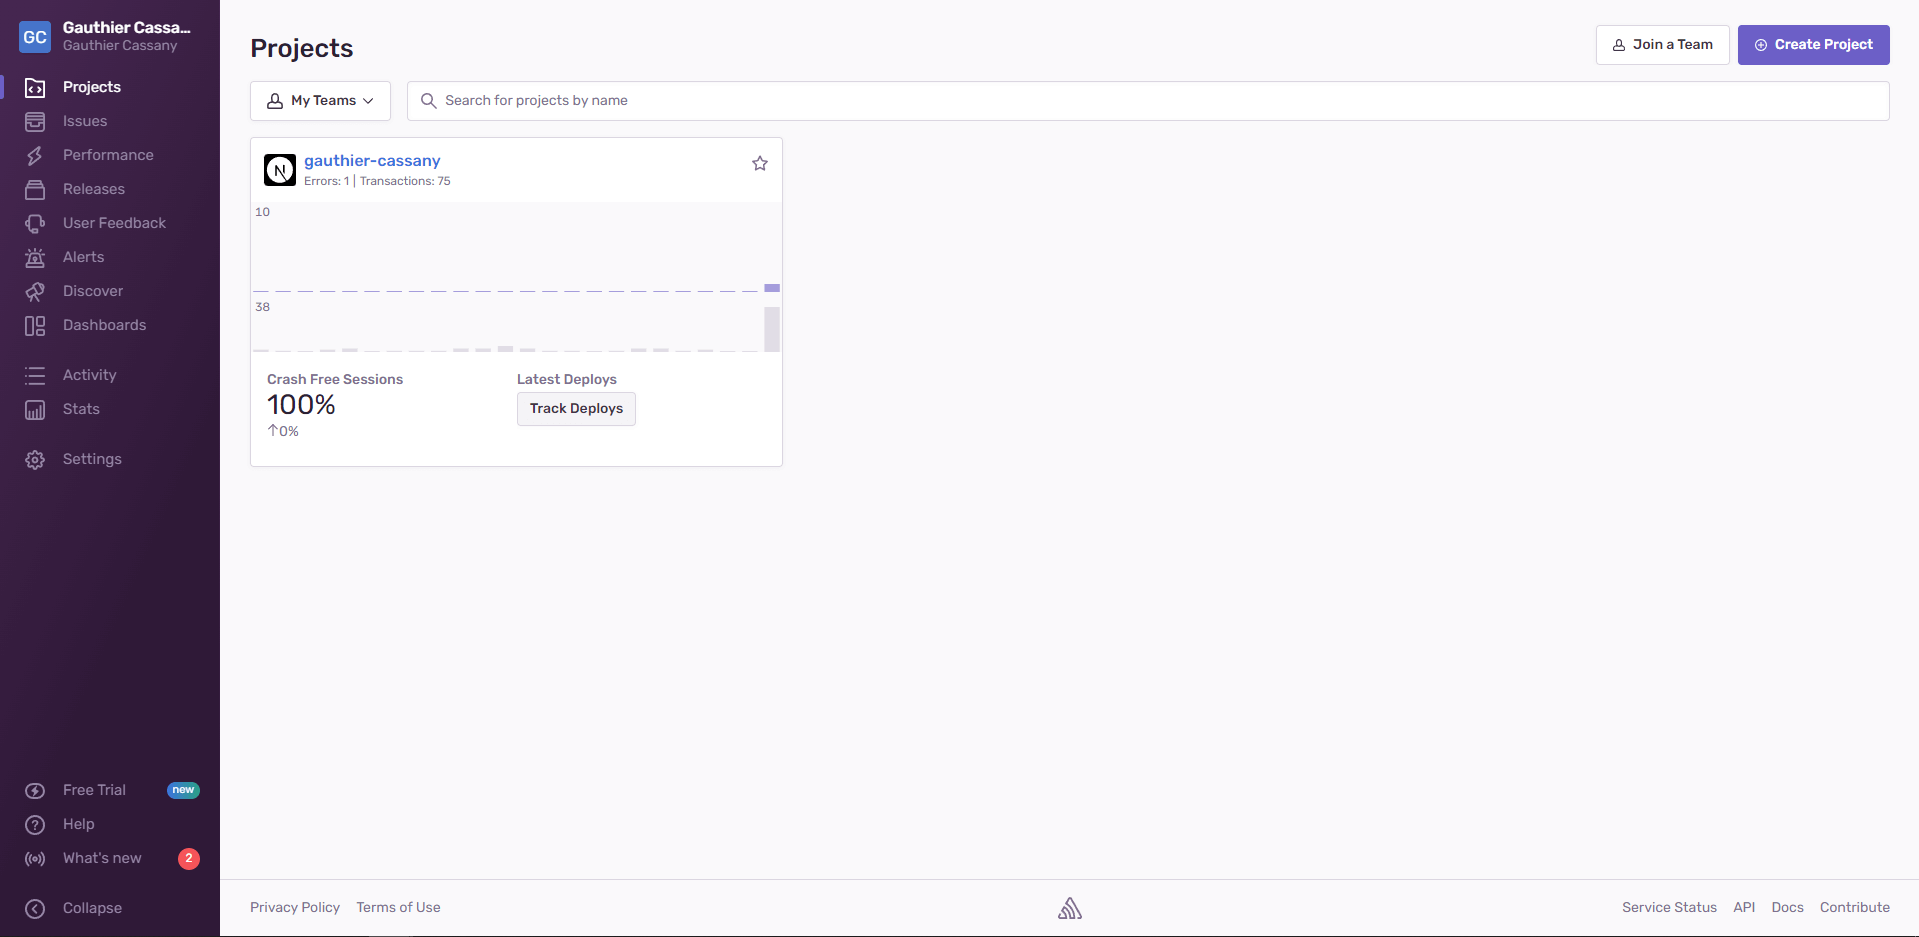
The project is ready on the Sentry side. We can now start configuring the Sentry SDK in our application. To make it as easy and frictionless as possible, Sentry provides an SDK specifically targeted at Next.js applications. It can be quickly installed using npm.
npm install --save @sentry/nextjs
We then run the wizard to initialize our configuration automatically.
npx @sentry/wizard -i nextjs
By setting up your configuration this way, Sentry will report errors and exceptions out of the box, and will generate and upload source maps to ease debugging of minified or bundled javascript code.
In short, it generates all necessary configuration files needed by Sentry to handle any error raised by our Nextjs application, both on the client and server-side.
This configuration works fine by default, but you can use it as a starting point and customize it for your own needs.
You can check the official documentation if you want to learn more about how this configuration works or if you want to do things manually.
If the sentry wizard fails to find your project, be sure to have the right value set up in the sentry.properties file and the right token in the .sentryclirc file.
While running this command, you might also encounter the following error.
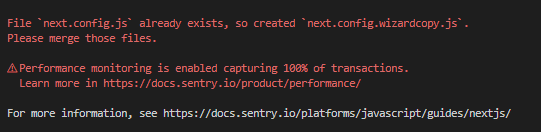
As stated by the CLI error, this happens when the next.config.js has already been generated during the next.js application bootstrap.
To solve it, you need to merge those two files into a single next.config.js file.
// This file sets a custom webpack configuration to use your Next.js app
// with Sentry.
// <https://nextjs.org/docs/api-reference/next.config.js/introduction>
// <https://docs.sentry.io/platforms/javascript/guides/nextjs/>

const { withSentryConfig } = require('@sentry/nextjs');

/** @type {import('next').NextConfig} */
const nextConfig = {
  reactStrictMode: true,
};

const moduleExports = nextConfig;

const sentryWebpackPluginOptions = {
  // Additional config options for the Sentry Webpack plugin. Keep in mind that
  // the following options are set automatically, and overriding them is not
  // recommended:
  //   release, url, org, project, authToken, configFile, stripPrefix,
  //   urlPrefix, include, ignore

  silent: true, // Suppresses all logs
  // For all available options, see:
  // <https://github.com/getsentry/sentry-webpack-plugin#options>.
};

// Make sure adding Sentry options is the last code to run before exporting, to
// ensure that your source maps include changes from all other Webpack plugins
module.exports = withSentryConfig(moduleExports, sentryWebpackPluginOptions);
We can already test our implementation by starting our application
npm run dev
and by clicking the error button we have added previously.
Going back to the Sentry project, we can see a new issue has been raised.
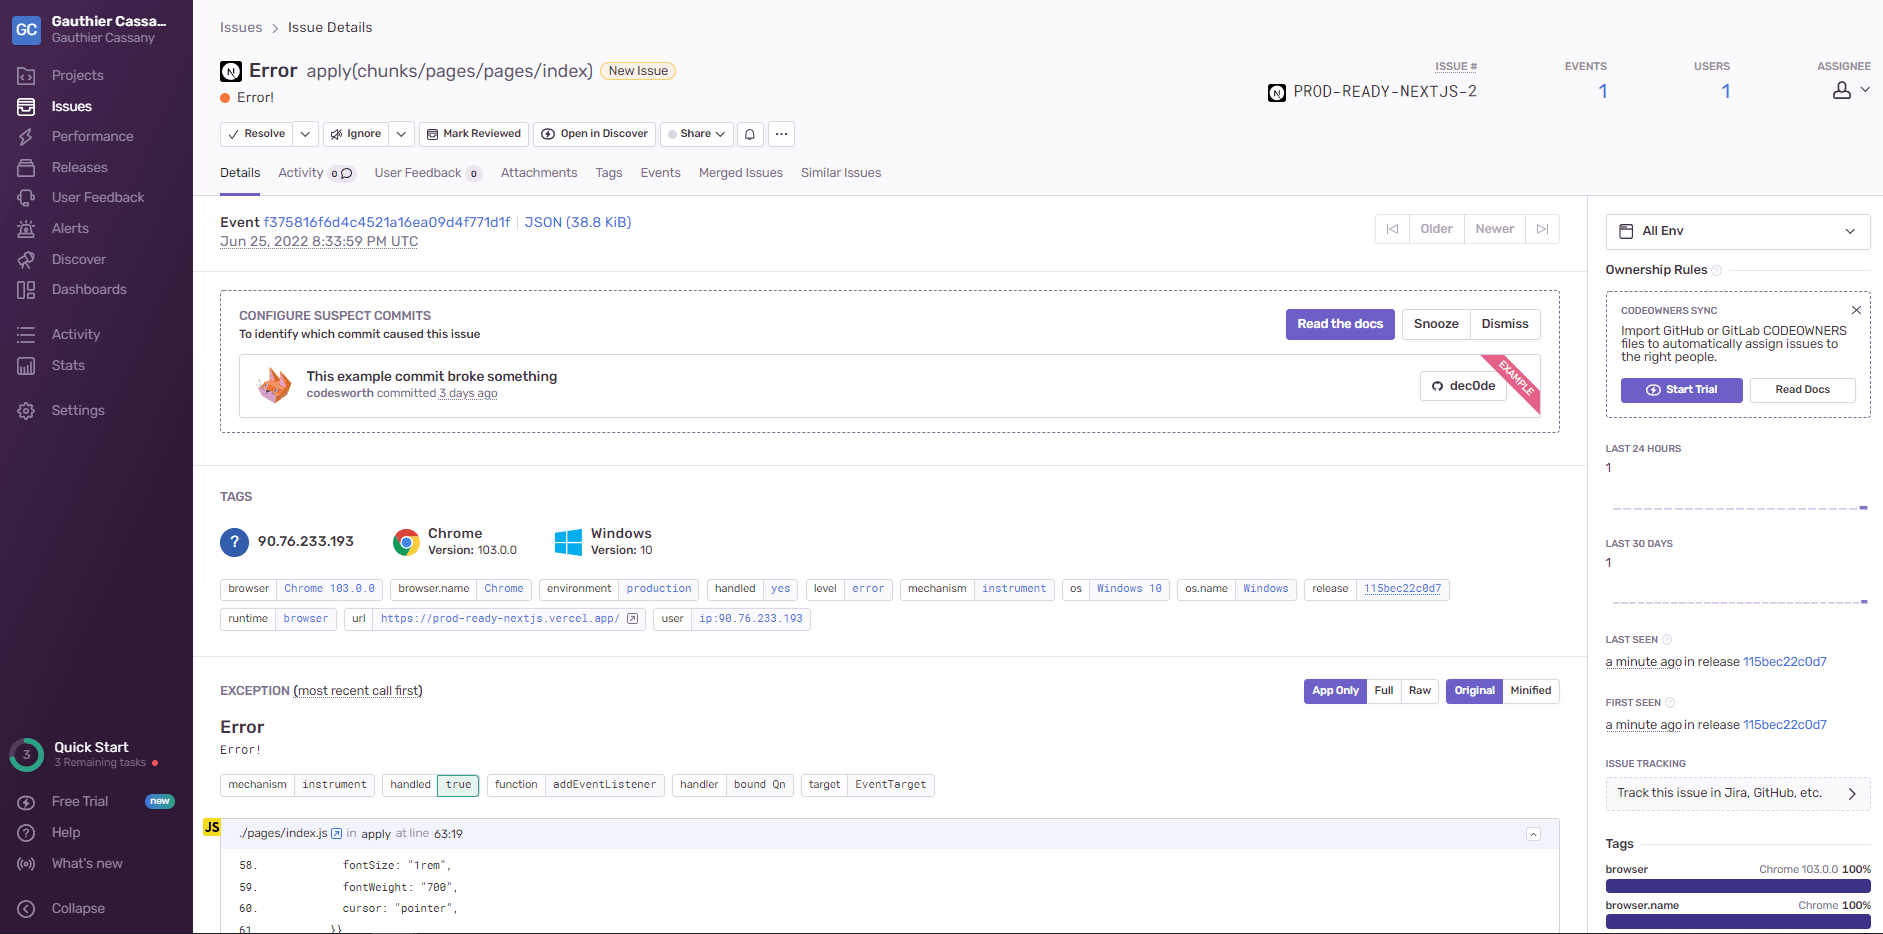
Our application is now tested, and we can start thinking about how to deploy it to production.
Setting up Continuous Integration with Github Action
There are plenty of great solutions to implement continuous integration to our application, one of which is Github Actions. it is not the most feature-rich solution or the most advanced one, but it is very accessible and, as you might guess, it integrates really well with applications hosted on Github.
First thing first, let’s create a new github repository.
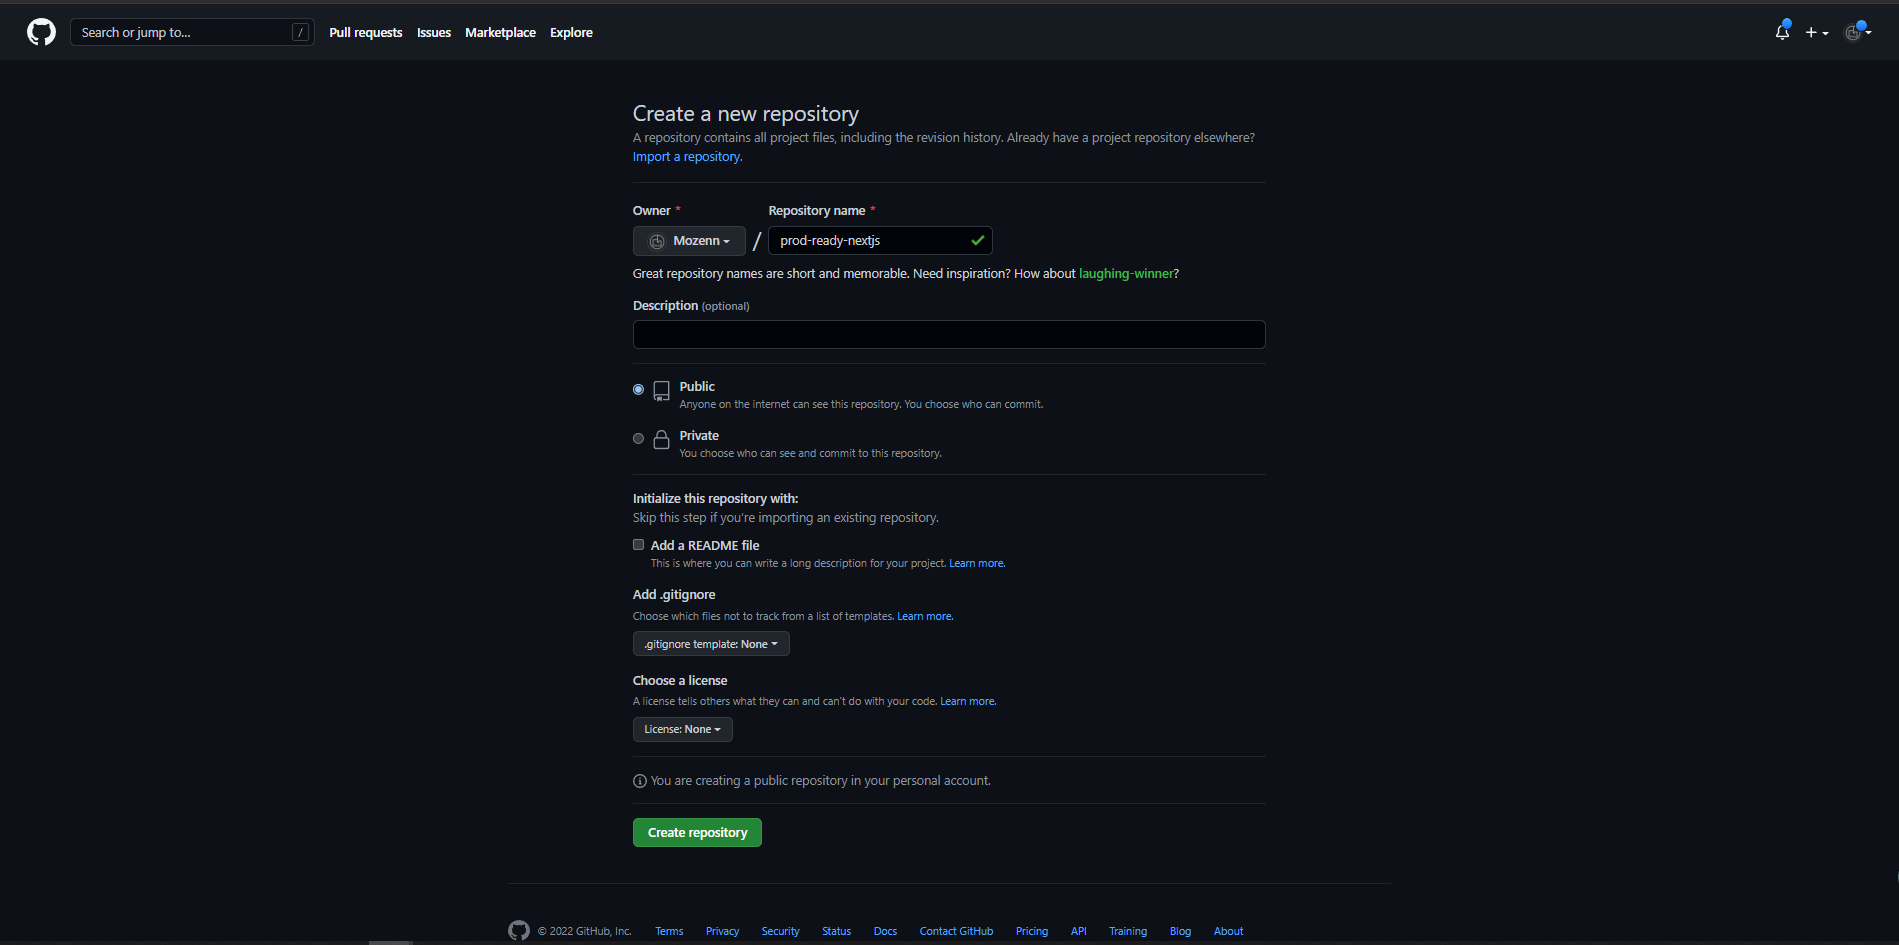
We push the application to the repository.
git remote add origin git@github.com:Mozenn/prod-ready-nextjs.git
git branch -M main
git push -u origin main
We will keep our pipeline simple by triggering a linting step and a build step each time something is pushed onto the main branch.
Of course, Github Actions provide much more advanced usage, especially with the use of actions available on the GitHub marketplace, or by building our own custom action. We could for example run some end-to-end tests with Cypress and the existing cypress action.
Github Actions works in a declarative way, using workflows written in Yaml format, and placed in the .github/workflows folder of your repository.
name: Continuous integration pipeline

on:
  push:
    branches: [main]

jobs:
  lint:
    runs-on: ubuntu-latest
    steps:
      - uses: actions/checkout@v3
      - uses: actions/setup-node@v3
        with: node-version: "14"
      - run: npm ci
      - run: npm run lint
  build:
    runs-on: ubuntu-latest
    env:
      SENTRY_AUTH_TOKEN: ${{ secrets.SENTRY_AUTH_TOKEN }}
      SENTRY_DSN: ${{ secrets.SENTRY_DSN }}
      SENTRY_ORG: ${{ secrets.SENTRY_ORG }}
      SENTRY_PROJECT: ${{ secrets.SENTRY_PROJECT }}
      SENTRY_LOG_LEVEL: info
    steps:
      - uses: actions/checkout@v3
      - uses: actions/setup-node@v3
        with:
          node-version: "14"
      - run: npm ci
      - run: npm run build
A workflow file is composed of multiple jobs, and each job is made of numerous steps.
We first define how the workflow is triggered. This pipeline will run each time something new is pushed to the main branch thanks to the on-push directive.
We then define the workflow jobs.
The first one consists in running a linting step to ensure there are no programmatic or stylistic errors in our code.
The second one simply triggers the application build. You will see later in the article that Vercel also builds the application before deploying it, which makes this job useless in this case. However, you might want to disable automatic deployment for each push on the main branch on Vercel, but still want to trigger the build for each push through Github Actions.
Let’s review the build job to learn Github Actions in more detail.
The runs-on directive sets the type of server the job will run on.
The first two steps use predefined actions that are provided by default. We then use the run directive to execute scripts defined in the package.json, one to fetch the dependencies and another to trigger the build.
Sometimes, steps require dynamic configurations. Those configurations can be provided through environment variables by using the env block.
Their scope will depend on where you place the env block.
Even though there is no monitoring happening during the continuous integration phase, we still have to provide the Sentry configurations that are required for the build to succeed at the job level. Providing them at the job level means that they will be available only in the current job scope.
But there is one catch here. You might have noticed that we use the ‘secrets’ prefix.
This is because we want to keep our sentry configuration for ourselves.
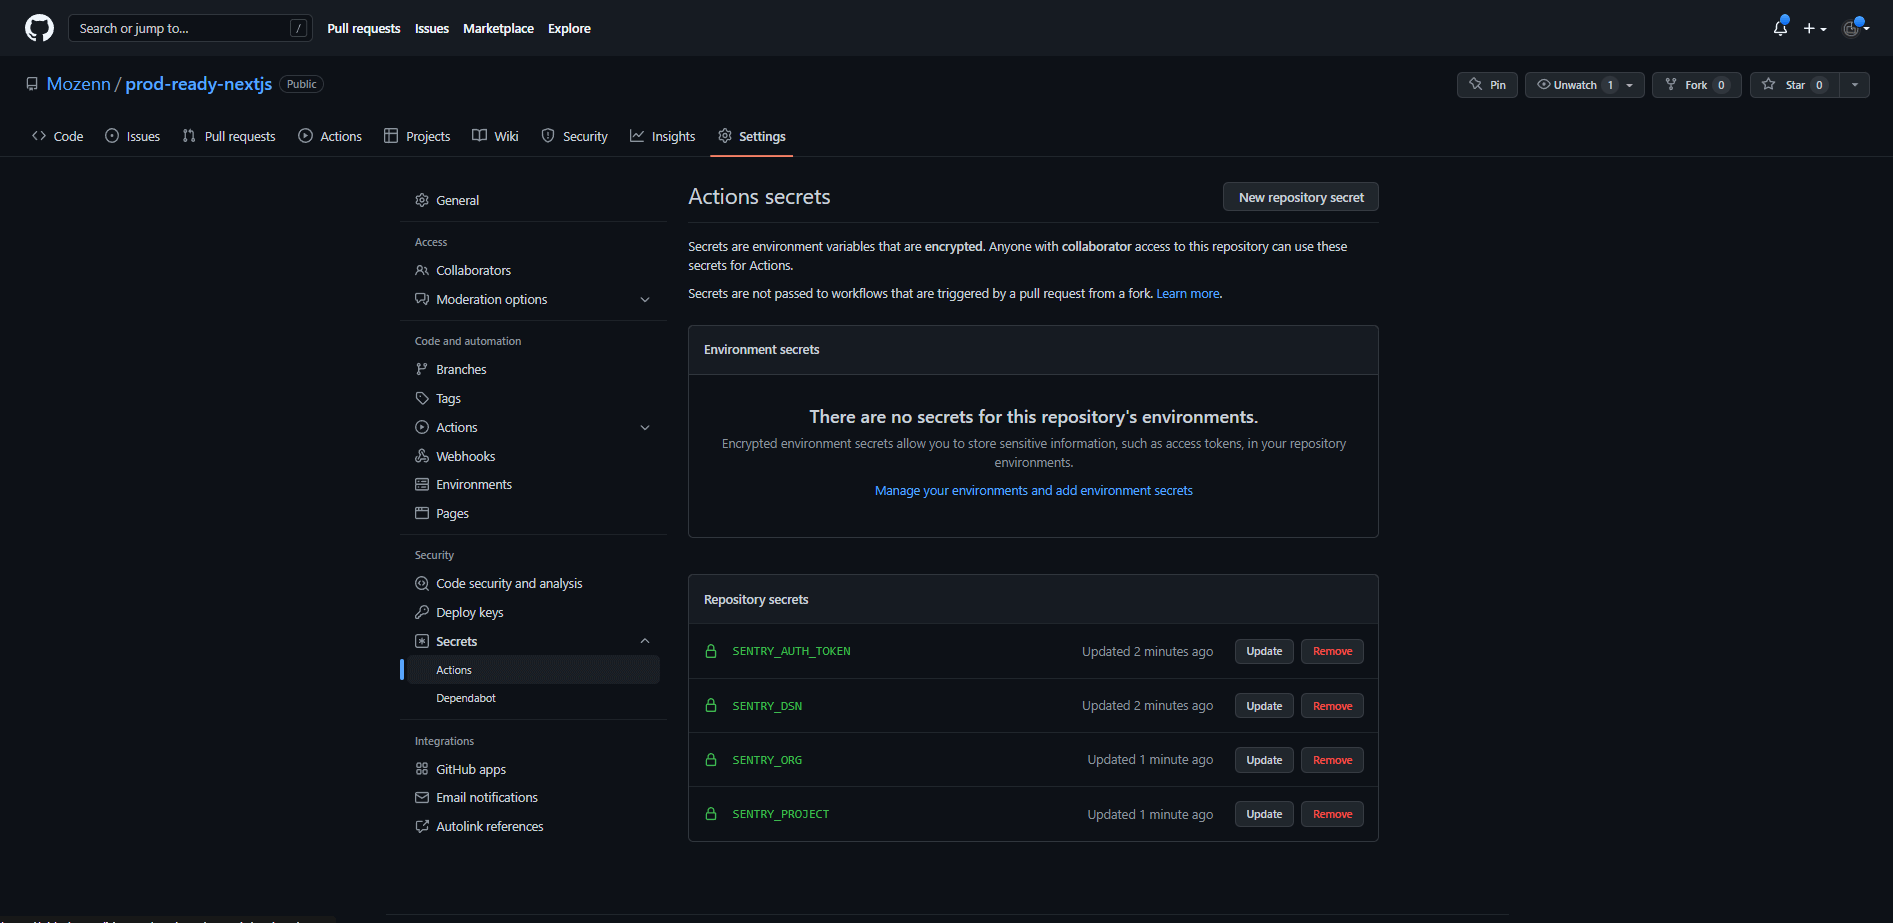
For that, Github Actions provide a way to store secrets in a secure way with Encrypted Secrets. They can be defined at the organization or repository level. Here, We define those variables in the Secrets part of our Github repository, accessible via the settings page.
We are done with the workflow setup, let’s try it out by making a new commit and pushing it to the remote repository.
git add -A
git commit -m "add github action workflow"
git push origin main
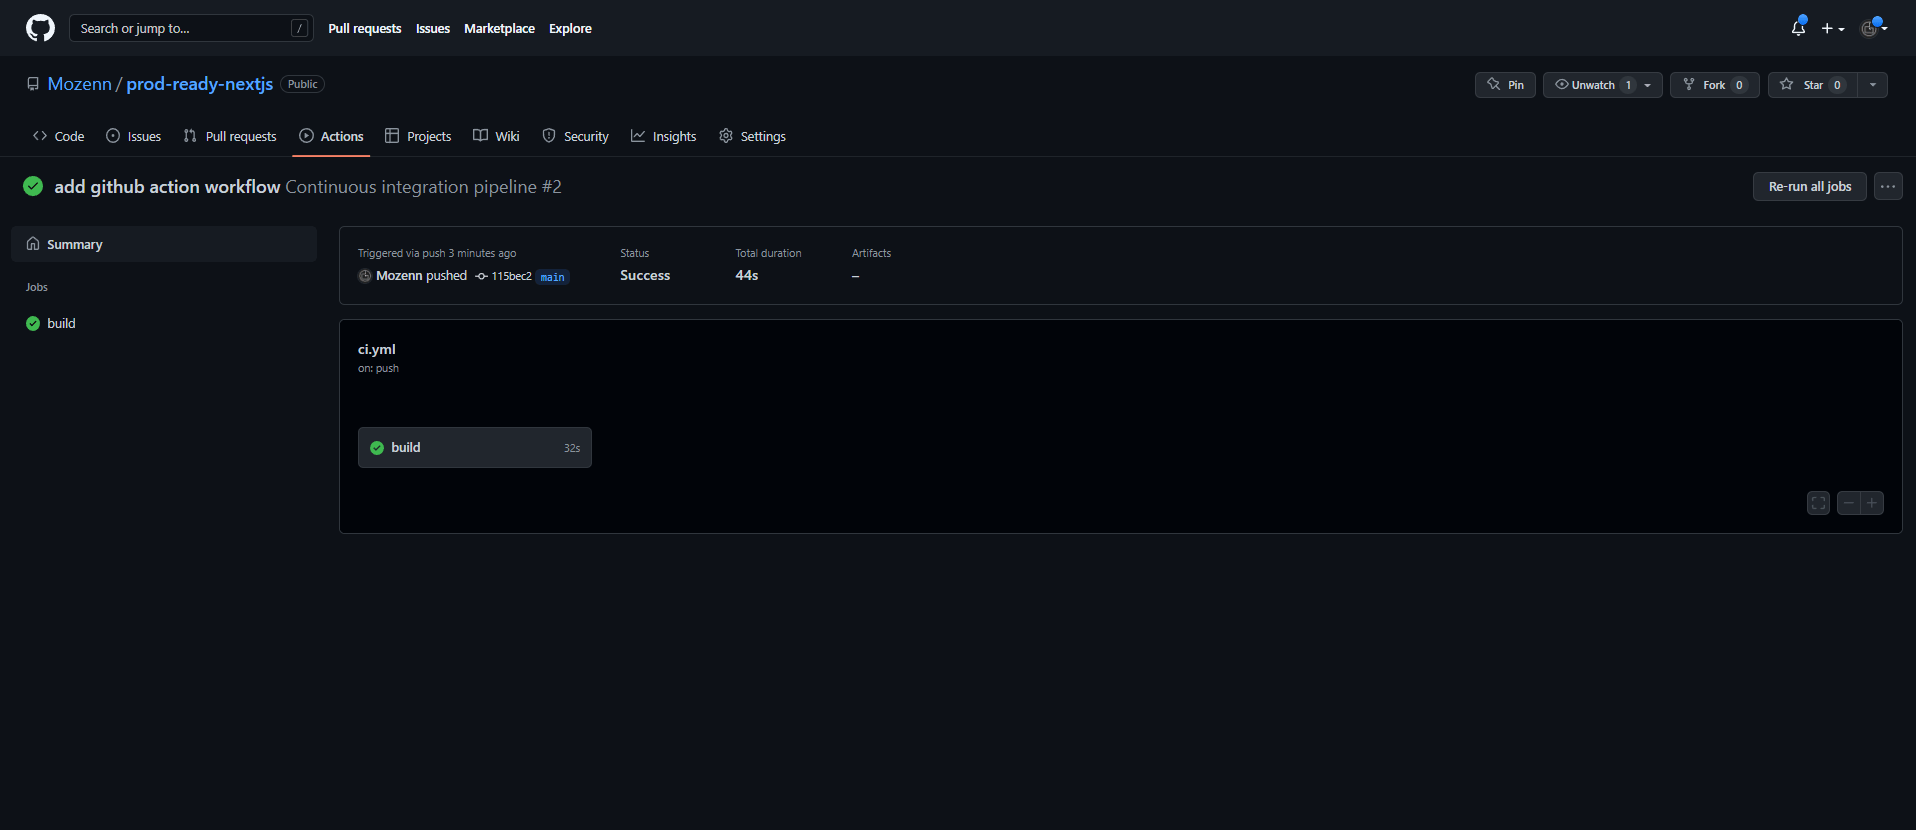
Returning to our GitHub repository, we can see that our workflow has been triggered and has run successfully!
Setting up Vercel
Now that we have our continuous integration and our monitoring working, we are ready to ship the application to production.
For that, we are using Vercel, a Cloud platform from the creator of Next.js. It is very well suited for the hybrid nature of Next.js with server-side rendering on one hand and client-side rendering with static generation on the other. It is thus a great solution to deploy our Nextjs application.
First, let’s create an account if it is not done already.
We then need to link our Github account so that Vercel can get access to it.
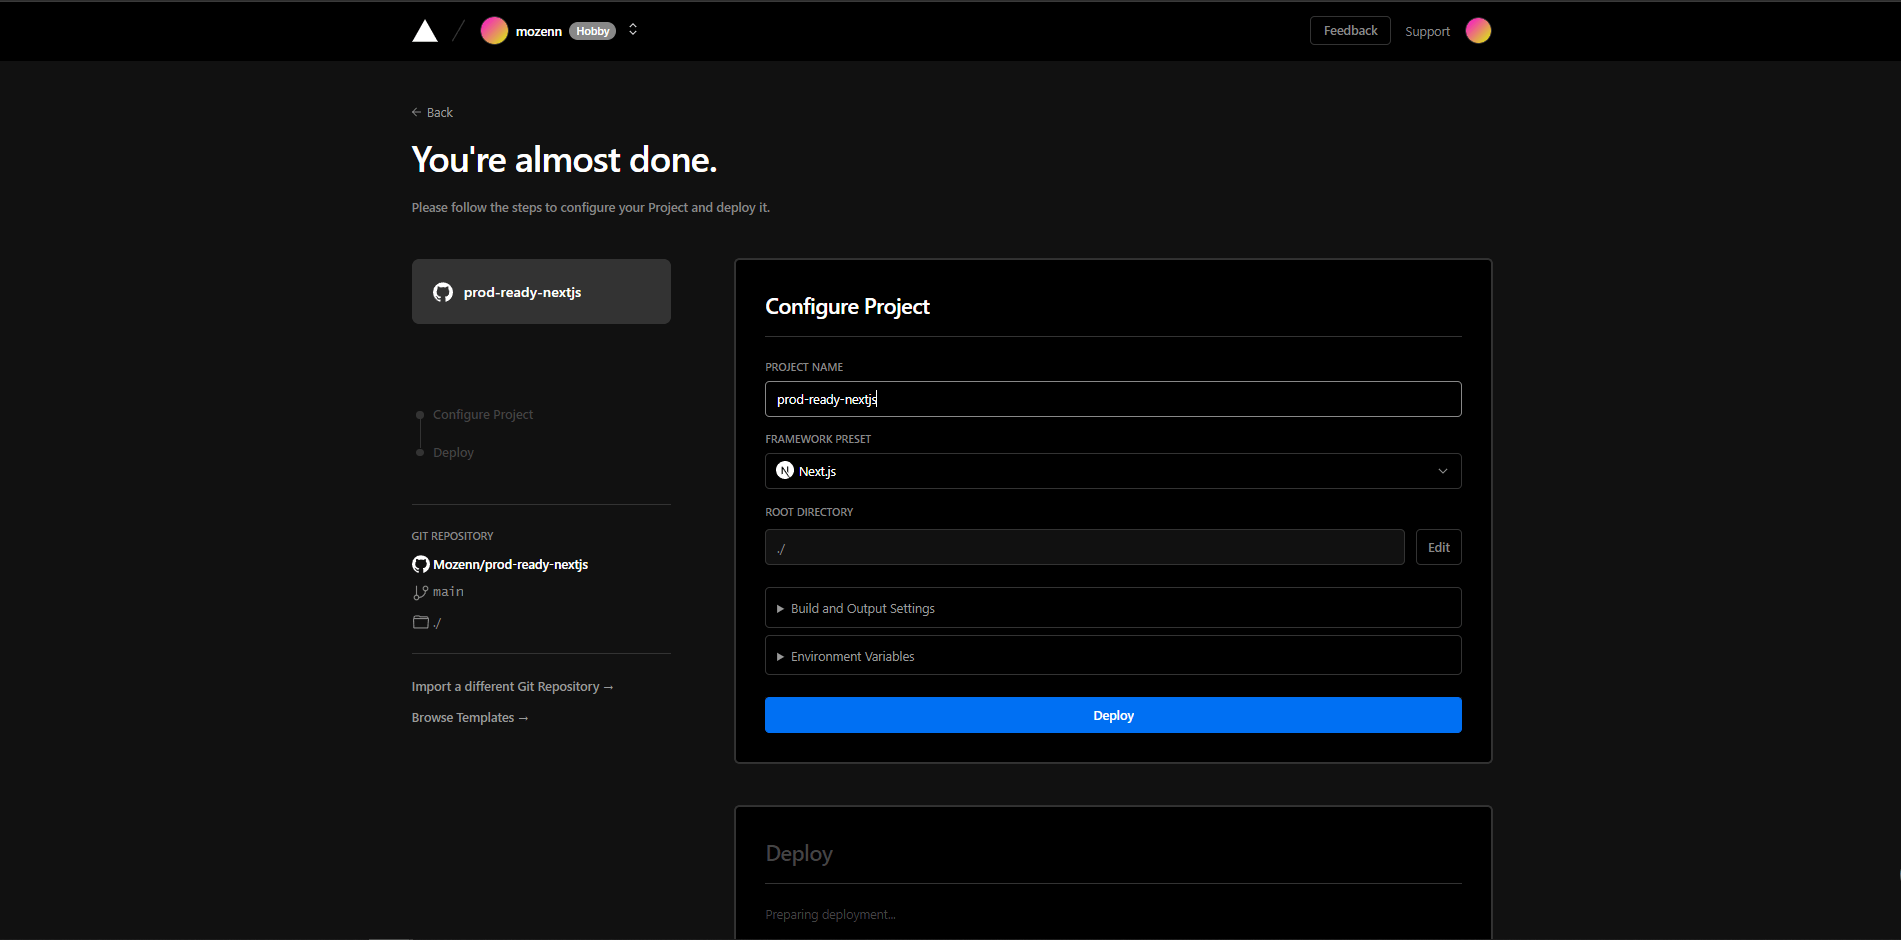
We then create the Vercel project from the Github repository.
However, the deployment fails during the building phase.
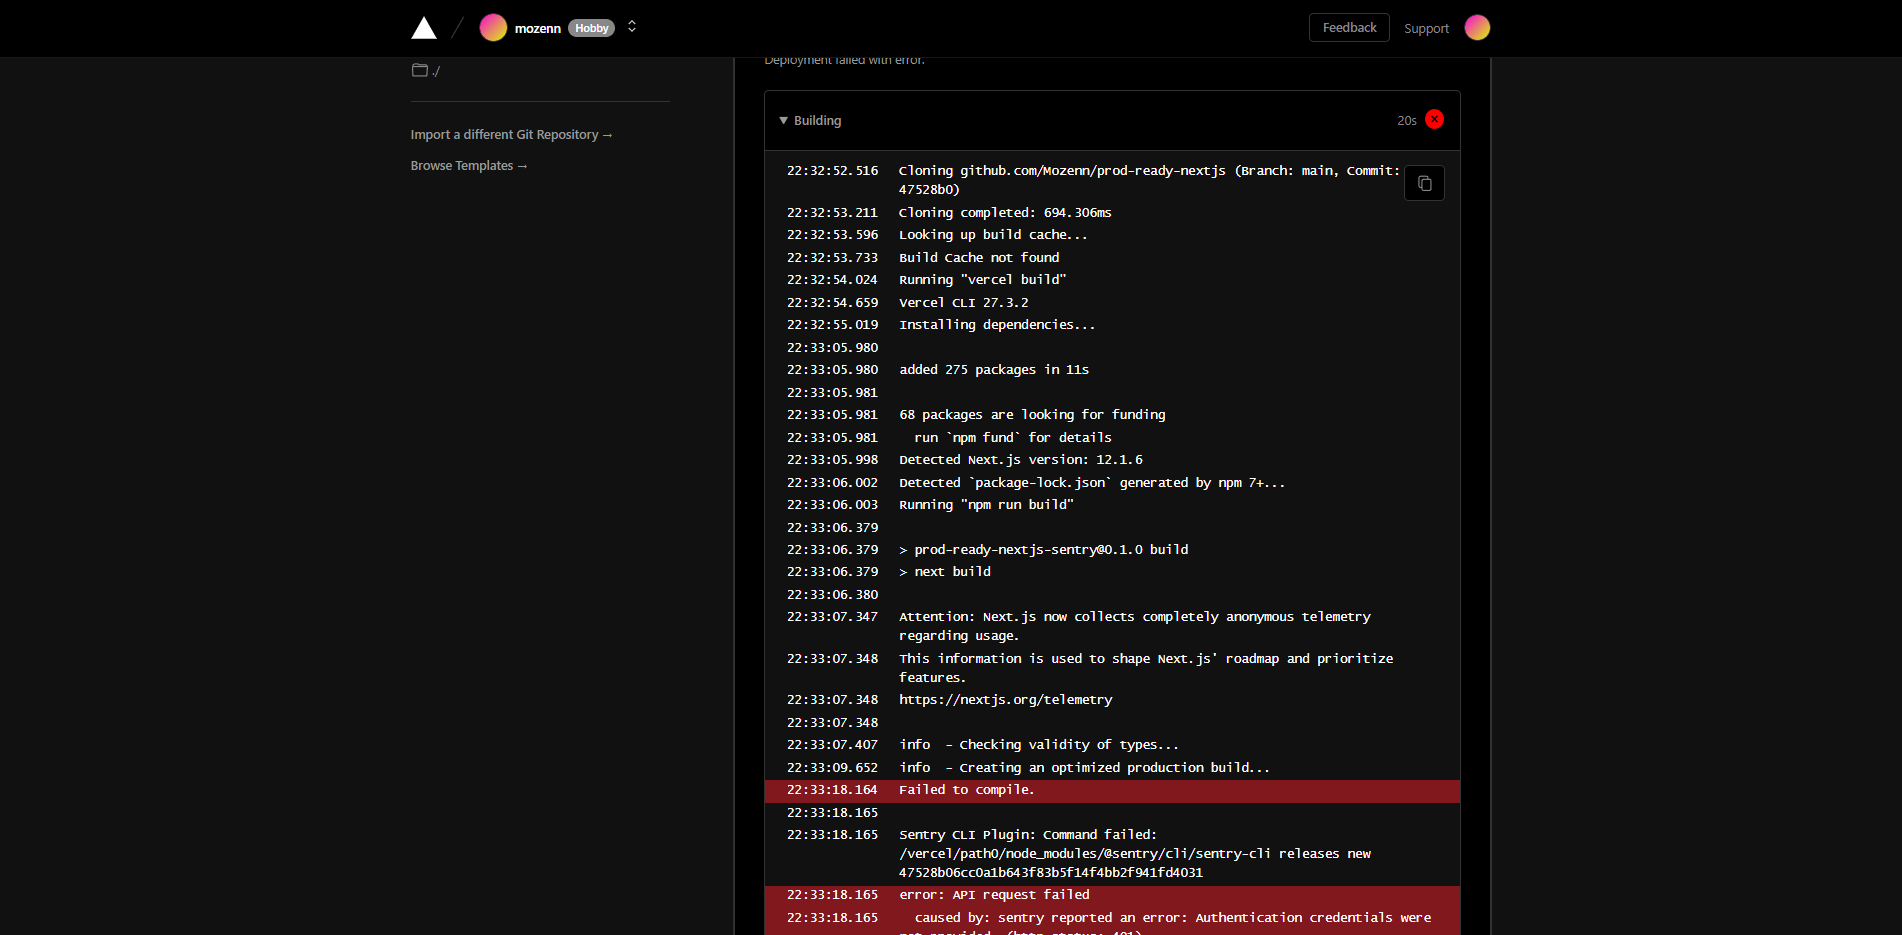
By analyzing the error, we can see that the deployment has failed because the Sentry configuration is missing.
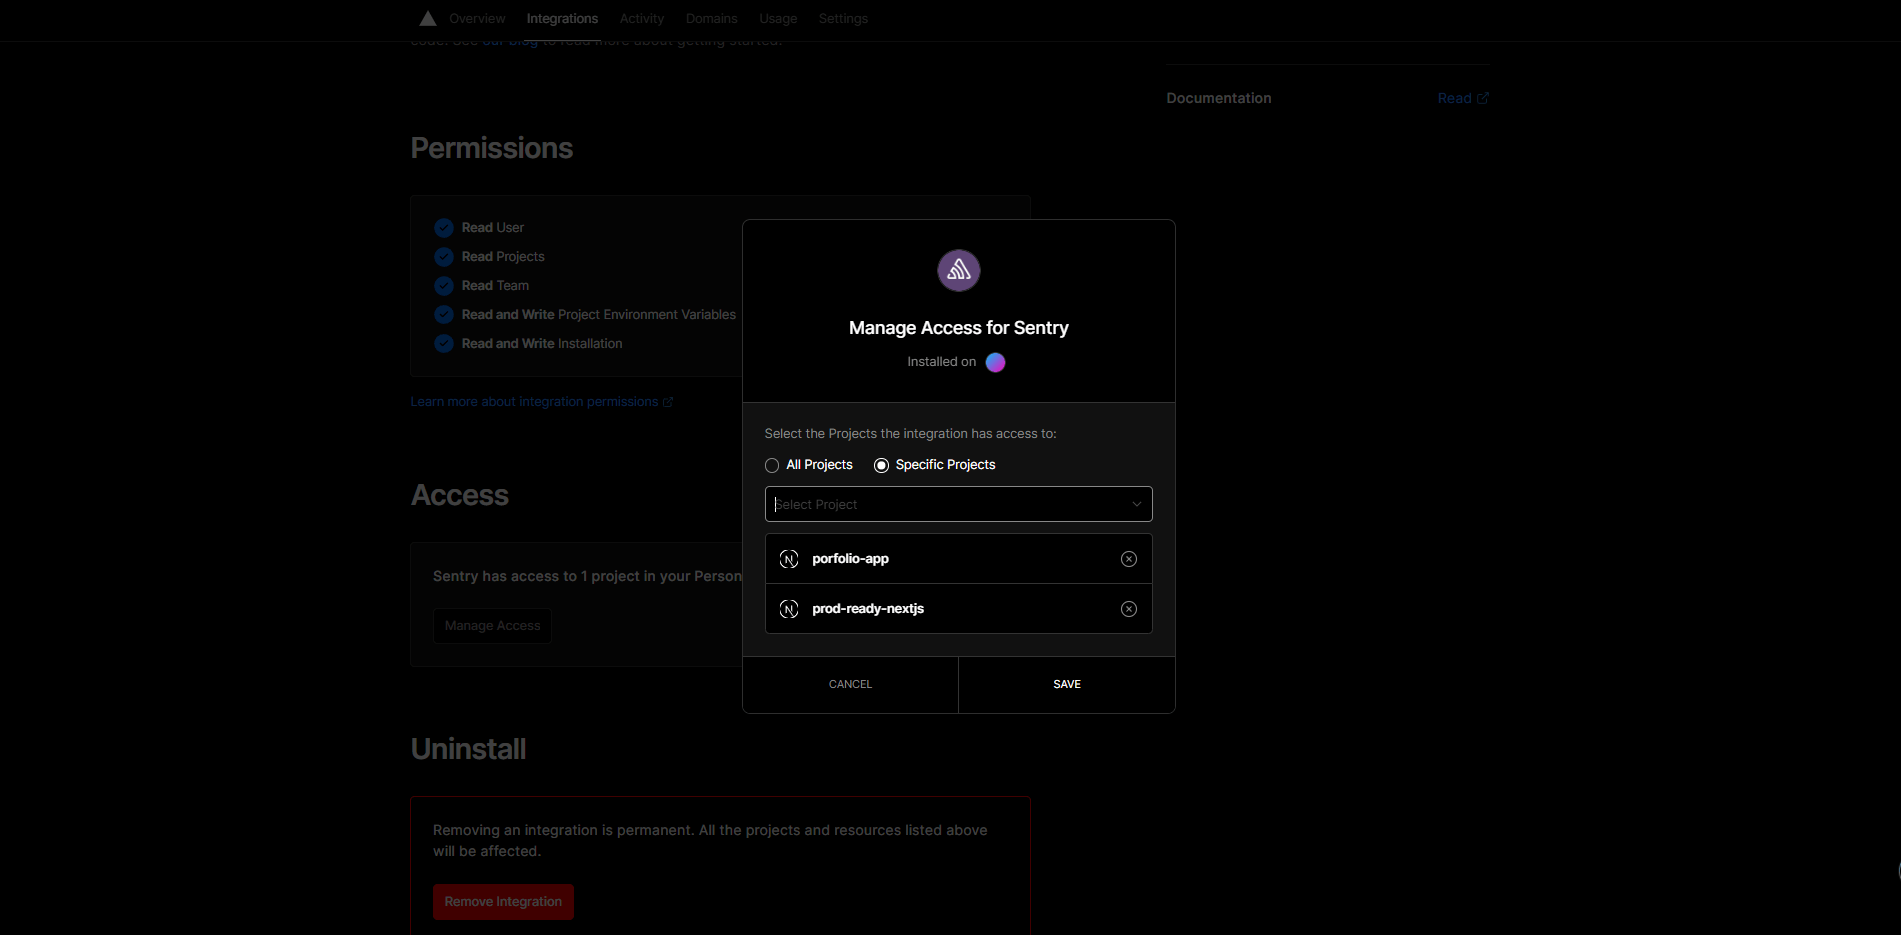
To solve this issue, we could manually add the environment variables as we did for the Github Actions. But there is an easier way by using the Sentry Integration for Vercel.
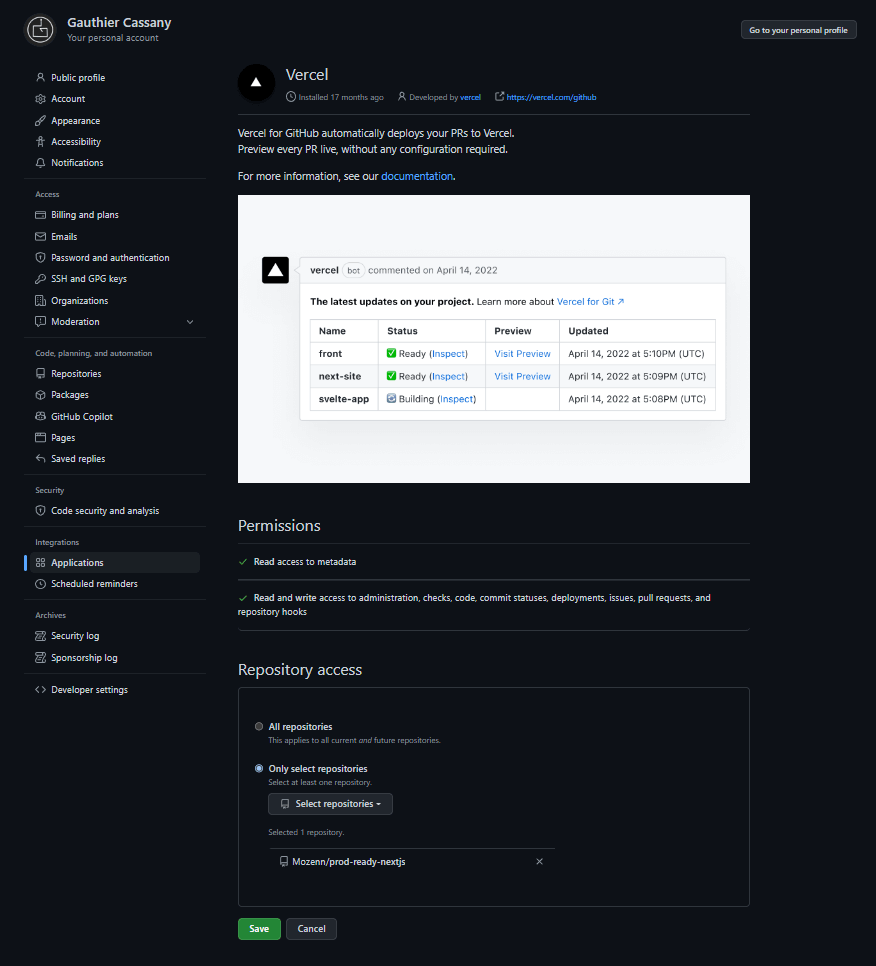
Using it is as simple as adding the Integration to Vercel, and then giving access to the project through the Vercel UI.
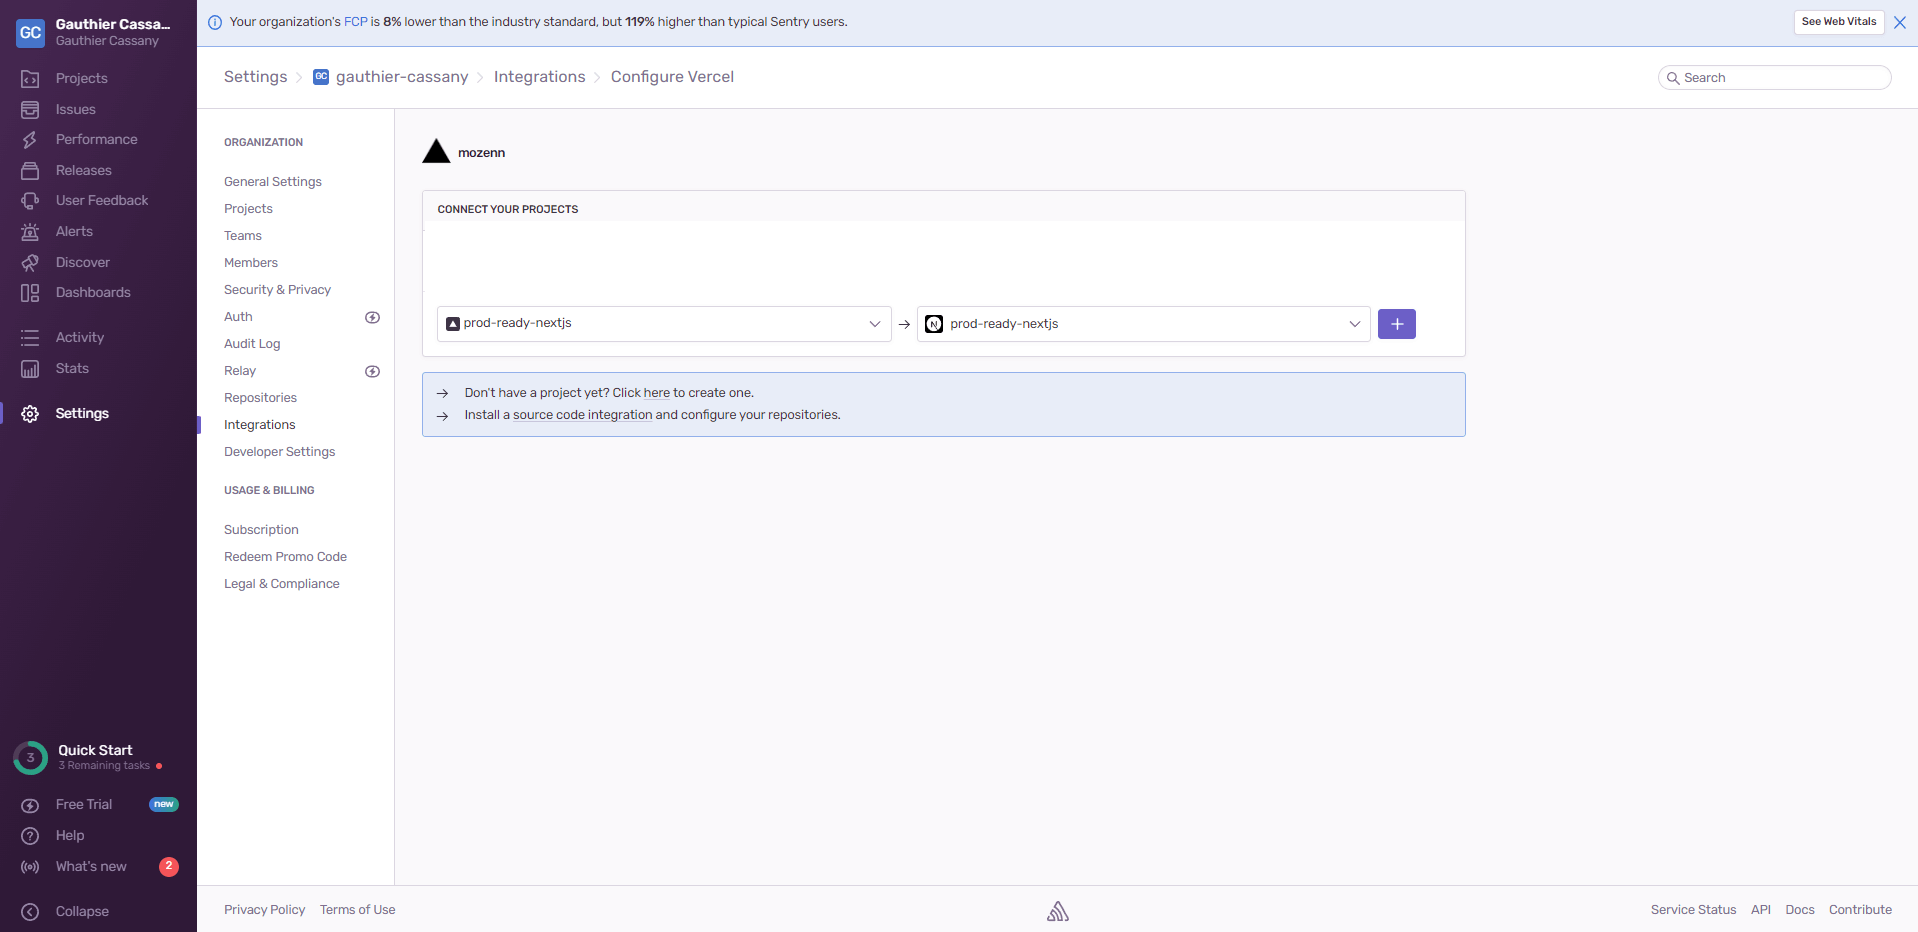
Going back to Sentry, we need to connect the Sentry project to the Vercel project in the Settings menu.
Once the Integration is done, we can see that our Vercel project has picked up the Sentry configuration in the project environment variables.
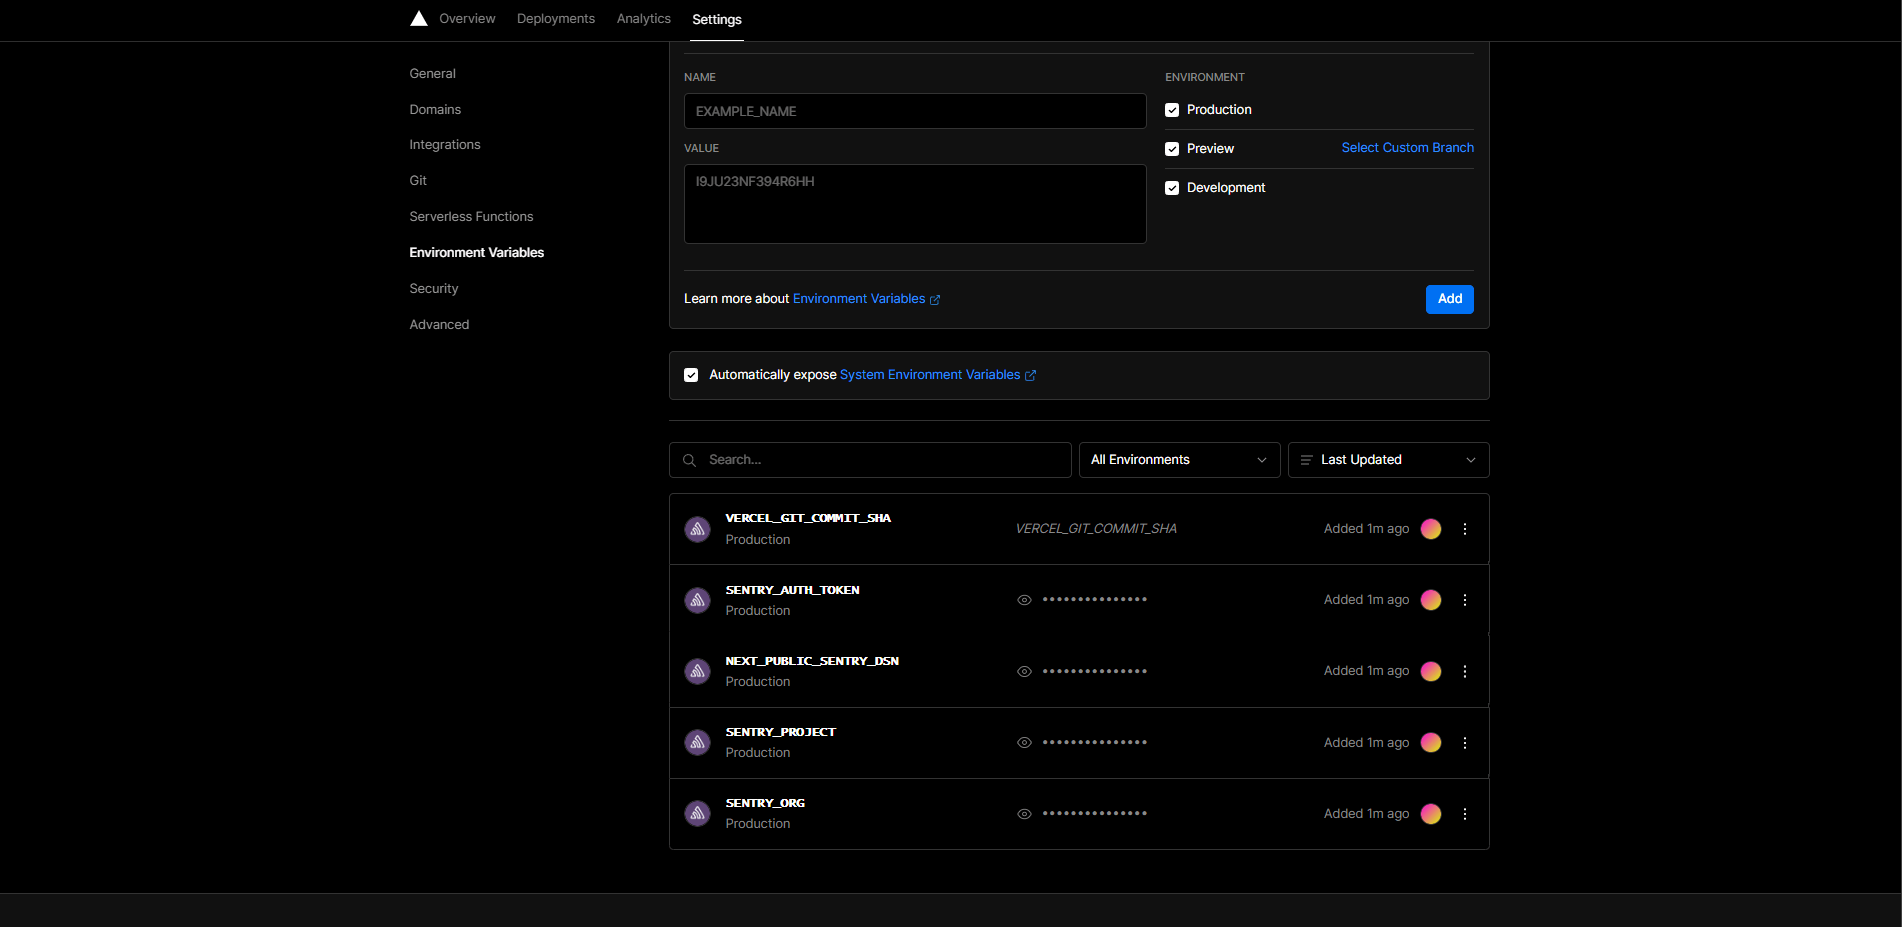
And we can ship our project without errors!
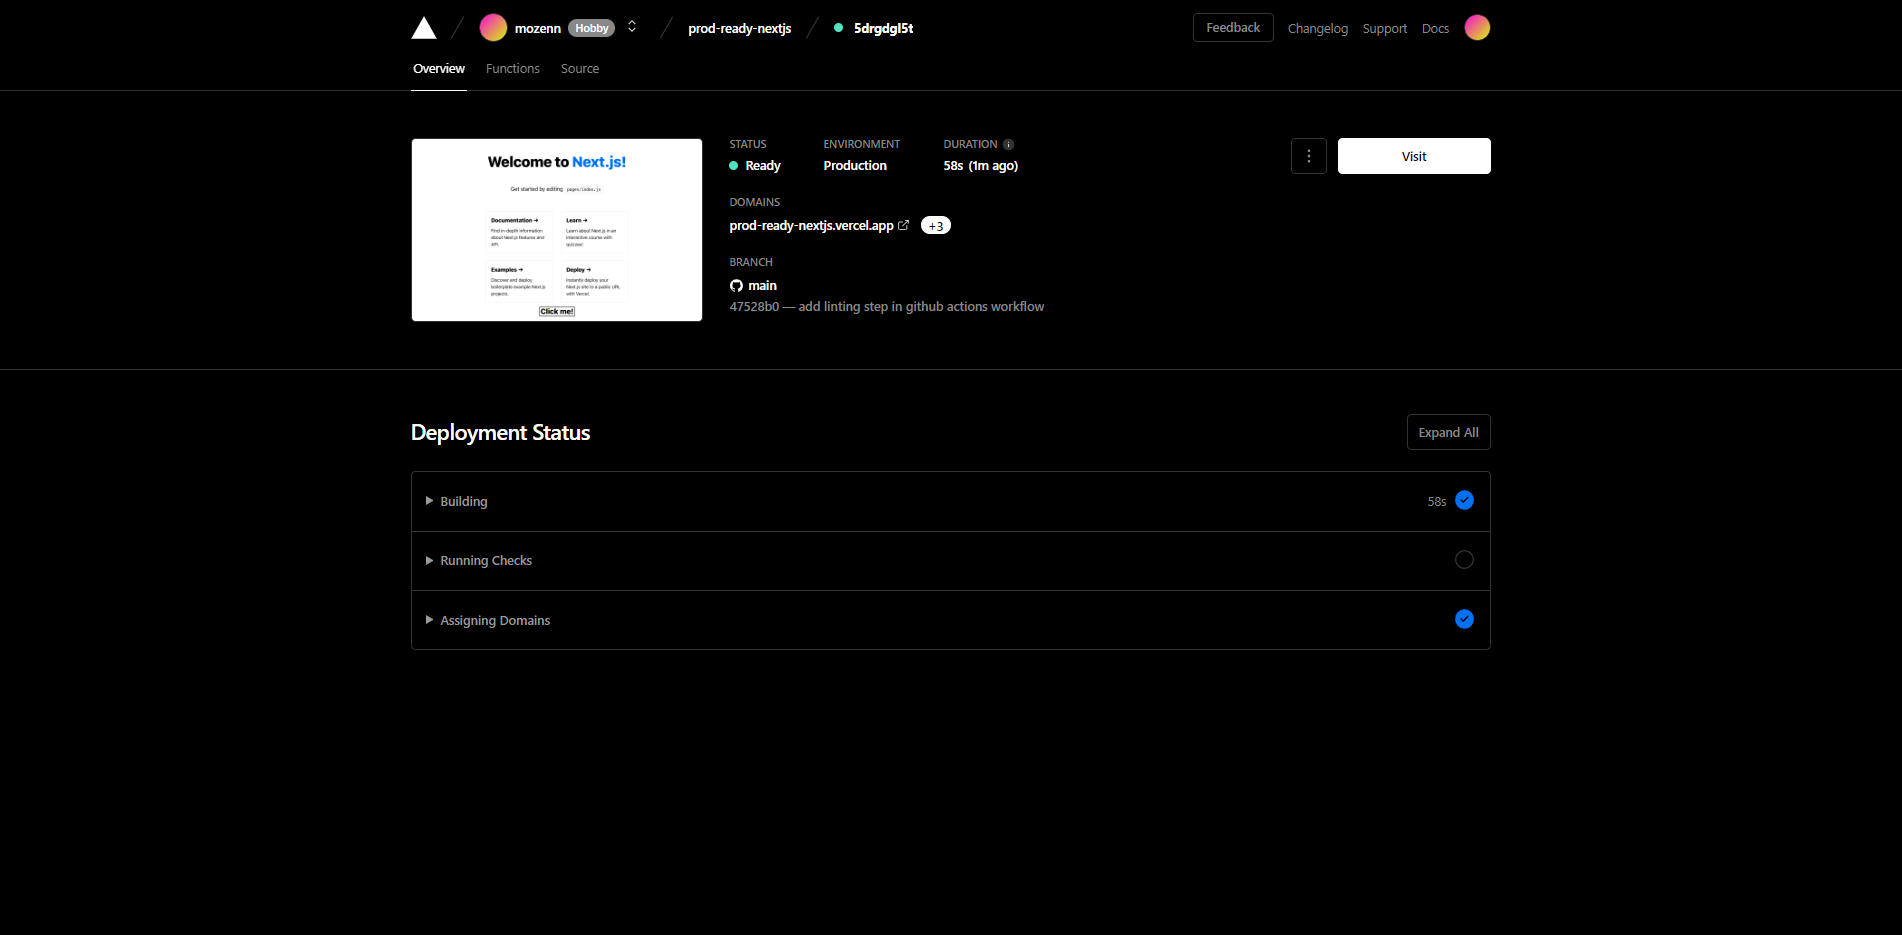
By default, Vercel will automatically create a new deployment each time something is pushed to the main branch, but you can disable or modify this behavior as you see fit.
Testing the application
Let’s finish this blog by making sure Sentry is working in production.
We go to the Vercel domain where the application has been deployed and we click the button to trigger an error as we did in the local environment.
We can see that Sentry has successfully detected the error.
You might have noticed that Sentry automatically specifies the correct environment, which is picked up from the NODE_ENV environment variables by default. You can tweak it if you need a more advanced configuration by providing a new tag during the Sentry.init method call in the sentry.config.js file as stated here.
You can check out the demo repository on Github.
This post has been originally published on Sentry Blog.